AUTO WAAAVE MANUAL

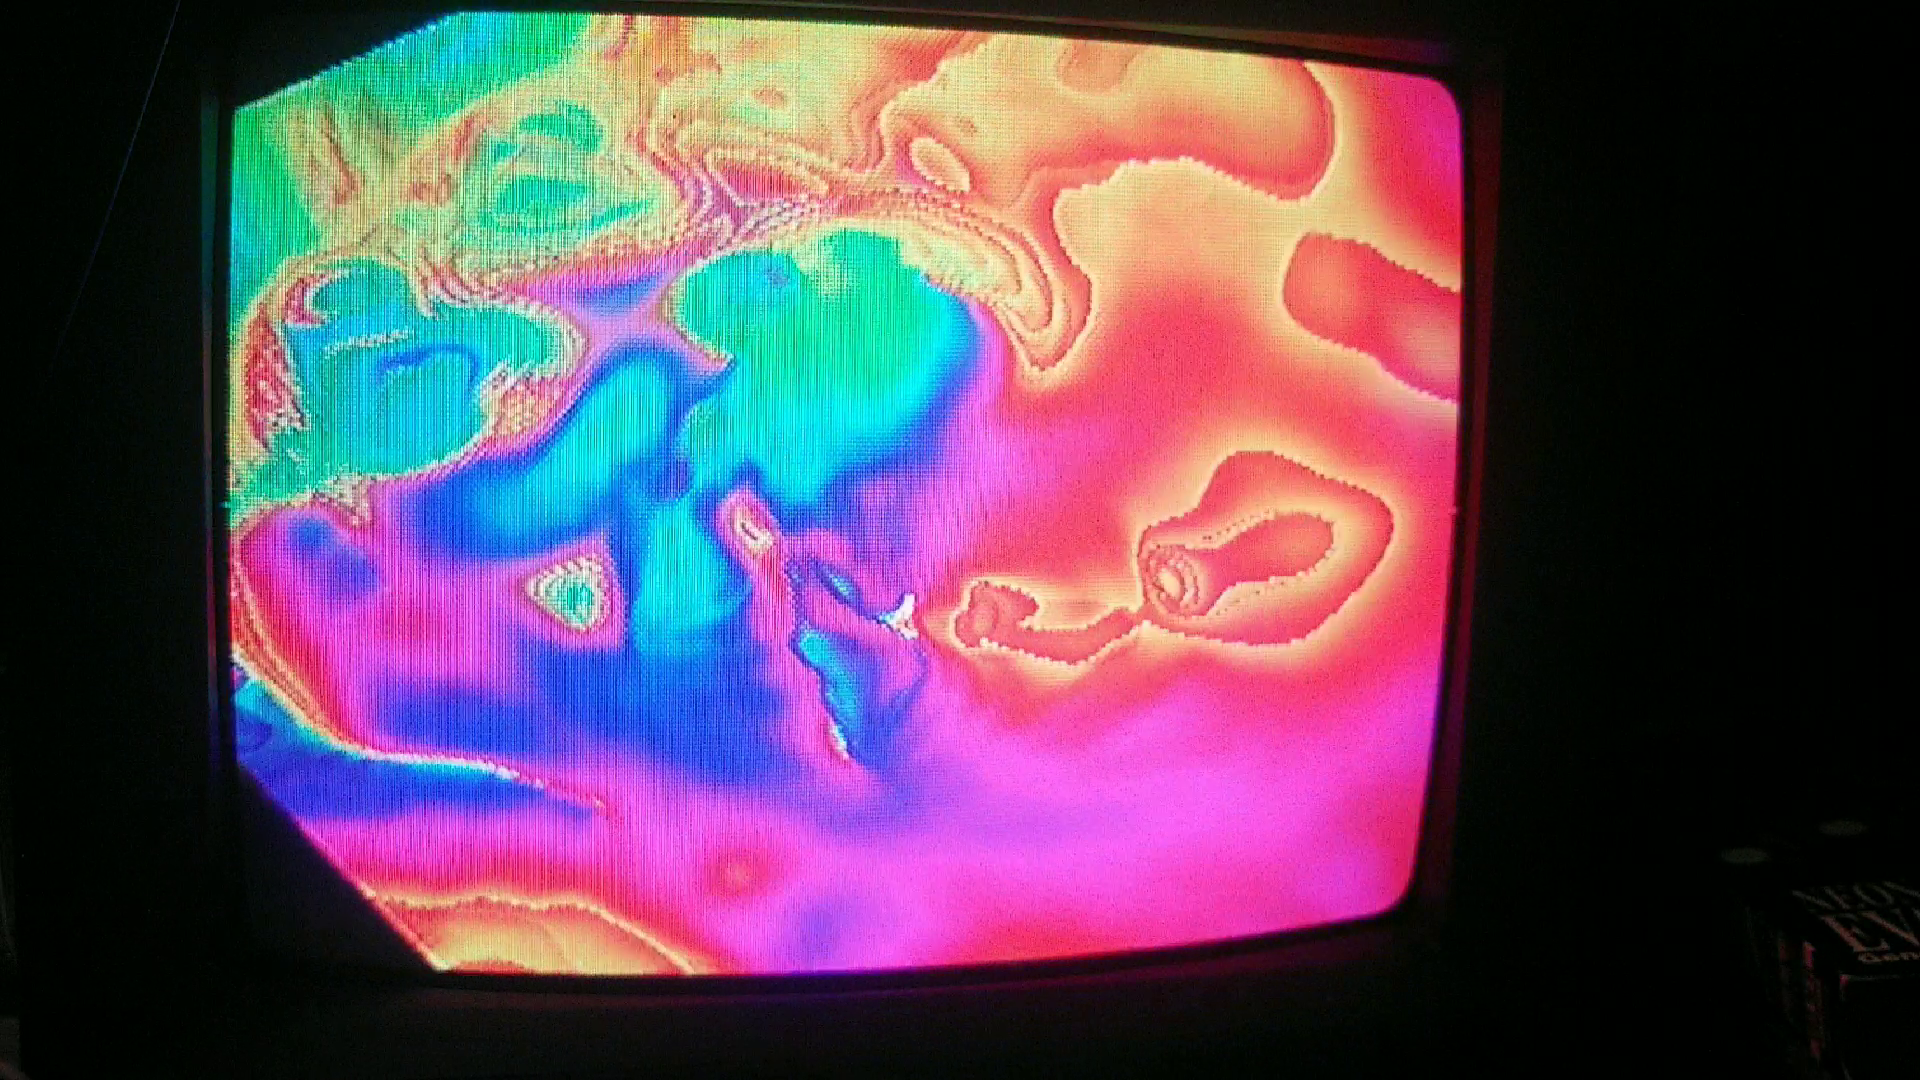
Welp you done and got yourself an Auto Waaave! Congratulations and welcome to the zone. Ok I am guessing you want to actually know how to use this thing in an orderly fashion and make some crazy audio controlled video feedback landscapes, no? The first thing you will want to do is read the manual for Waaave Pool! Because basically all that Auto Waaave is is Waaave Pool with audio reactivity, and because I’m not going to just cut and paste that entire thing and plop it over here. So go read it, I can wait, I don’t actually exist as an entity locked in any kind of time reference, I’m just a sentence on a page (well actually a sequence of unsigned chars {or maybe even signed chars?? [or really just a bunch of electrical charges and absences of electrical charges]}). Oh yeah and then try watching a bunch of these videos too! Also maybe if you’re confused about where to plug in and jack out and all that take a look at these.
All right, so you have gathered all of the information on the Waaave Pool and maybe even tried messing around with it a bit and found out that nearly all the controls seem to do exactly what you think they would except for a bunch of the buttons seemed to be off. This is because I had to remove three of the WP buttons and replace them with buttons that turn on and off various functions of the audio reactivity!
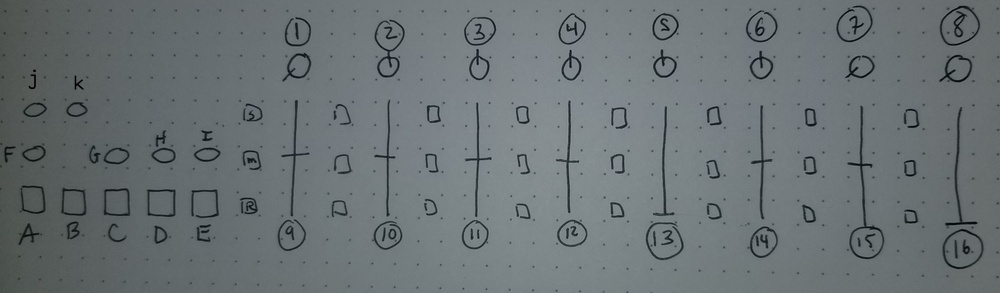
You probably recall this image from the ol’ Waaave Pool manual. The important difference between WP and AW controls is that A, B, and C are now used to switch on and off mapping Low, Mid, and High frequencies of your audio input to any of the controllable parameters and that G, H, and I now have Bright Invert, Saturation Invert, and Hue Invert assigned to them.
I do enjoy writing things out a little more causually and over explaining things to help folks get started because I feel the terseness of the average manual is not always helpful and also this is kind of a unique instrument! But for everyone who just wants to know the controls and DGAF about my folksy ramblings heres the TL;DR
A, B C turn on and off Low, Mid, and High frequency audio mapping. With any of A, B or C lit up, any change you make on the control dials in how much that frequency affects the respective parameter. J resets all audio frequency mappings to zero and K resets all the non audio frequency mappings to defaults. Ok back to rambling.

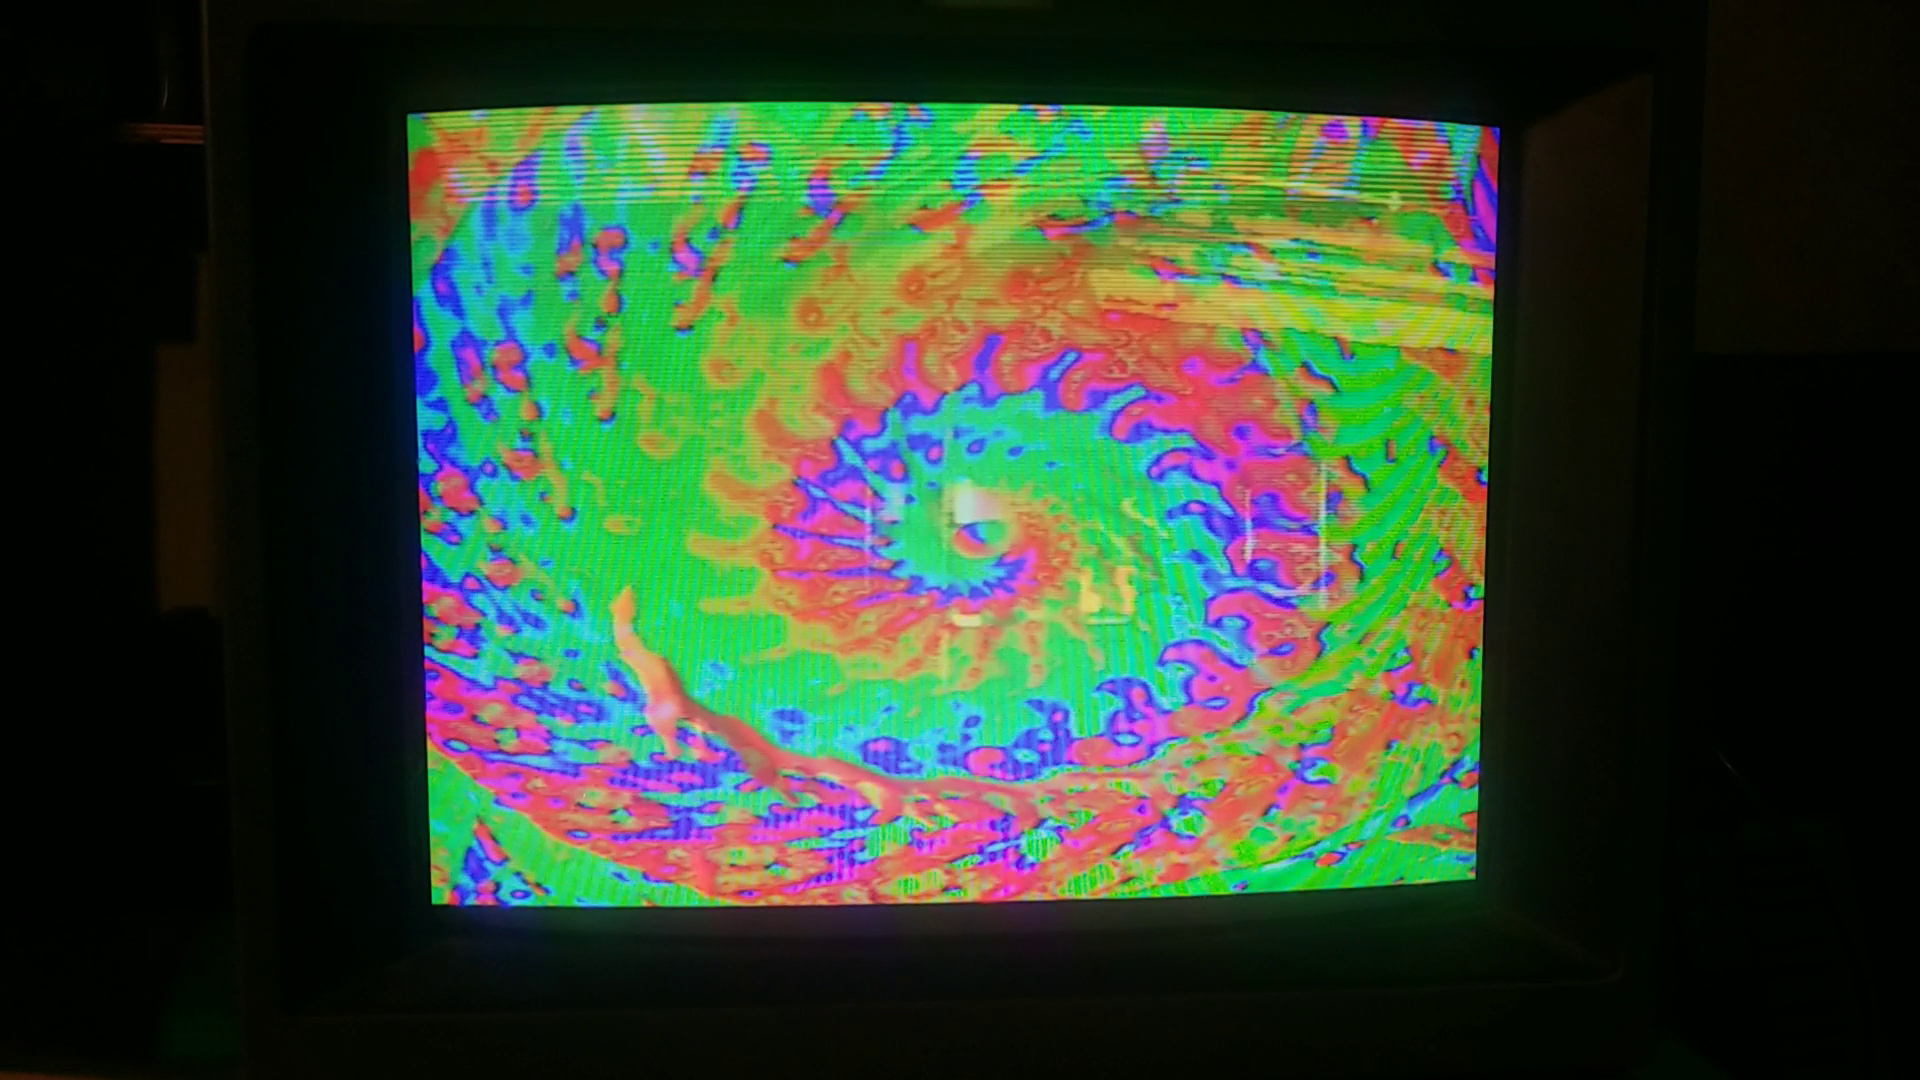
Now lets go over how to assign frequencies to parameters! Lets say you put something like this on and plug the audio into the 3.55 mm jack. First off you would like to try and assign the lowest frequencies to X displacement so that everytime the kick drum hits the feedback gets jolted in an X wise manner. What you do is first press A so that the button is lit up. Next you go over to the x displace control (9) and move it up from zero a couple of notches in until you are happy with how it looks! Then you press A once more to turn off Low audio mapping and you lean back and celebrate all of your acheivements thus far!

You’ll notice that while many of these controls are bipolar you are only able to map audio reactivity in either postive or negative manner. You can still use this control scheme to do bipolar modulation tho! Say we have just finished up that previous mapping of low frequencies to x displacement and have finished up savoring the sweet success and would now like to figure out how to get the feedback to wiggle back and forth instead of just jerking over to one direction and back. Its pretty simple, we just move the x displace slider (9) to wherever we would like to pivot from! For a bipolar wiggle we would set the x displace down below zero a bit and voila!

Let me just repeat that once again after the paragraph break because this is kind of a crucial thing to understand about how the controls work! If you haven’t moved any of the knobs or sliders around then when you go to map any audio frequencies to parameters they will be set to 0 as the start point for where they pivot from. If you change the controls at all then wherever the controls have been moved to will be the pivot point for the audio frequencies to kick in! A pretty great way to test this out is to test this out with mapping anything to X, Y, and/or Z and then try moving the pivot points around a bunch to see how this flows!

Next up say that you are goofing around with that same song and you would like to map the high frequency warbling lead thing to brightness and saturation so that they fade in when theres something trebley happening and fade out otherwise. Since the default for brightness and saturation doesnt fade anything out you will first need to make sure that we dial them both down a bit so that the pivot point is below 0 and then the audio reactive trigger will kick these parameters up and then fade out! So you go to (4) and (5) and then dial them over to the left of 0 a bit so that they are at like 10 or 11 o clockish. Then you hit C so that it is lit up and dial in first (5) over to the right of 0 to like 1 or 2 o clockish and then the same with (4)!

But wait, you say, this isn’t just getting triggered by that trebley synthy thing, its also getting triggered by the snare, WFT dogg?? Welp thats just kind of how frequencies work yo! Snares both IRL and synthesized have some kind of enveloped noise as a crucial part of their tone and the thing about any kind of noise is that it is pretty much spread equally over all frequencies! While we most western pop derived music usually has an intuitive division into Low, Mid, and High frequency components (eg drums, bass, and leads) there will almost always be some kind of bleed thru in each instrumentation! If you really really want some tight frequency gating then I recommend setting up your instruments with a nice multiband EQ and playing along with them and the AW in a live setting to get a feel for how everything interacts with the frequency detector! I highly recommend this btw, its super fun and if you do it just right you have a crazy fun musical video synth controller!
Ok one last thing, lets say that you mapped Mid frequency over to the Huex_offset (14) early on in the song and it looked great for a bit but then more of the bassy synths came in and all of a sudden its going into some crazy strobe zones and you want out PRONTO. There are two options:
1. You can hit the (J) button which resets ALL of the audio reactive parameters to 0 or 2. You can hit (B) to turn on Mid frequency mapping and move (14) back to the middle (because its Bipolar parameter!) to zero it out! That should be about the bare minimum yall needs to get started having some crazy times with this instrument!
Have fun!
Also: fun fact, there is no audio output.

If you appreciate the public domain open source software and educational materials I provide and can afford to spare some cash it is highly appreciated! The more donations I recieve the more time I have to spend on developing these resources! Please also consider subscribing to my patreon page as small amounts of regular income are appreciated as well! Or you could also support my ko-fi if you like getting stickers and stuff on a regular basis.