USING NDI TO SCREEN GRAB FOR VIDEO WAAAVES
OK first off make sure you have ndi tools installed! The actual process of getting video from desktops into any of the Video_Waaaves Suite will be a bit different for OSX and Windows so each os will be covered seperately. I think i’ve mentioned this in a couple of other places but it bears repeating: NDI can be used for local screen grabbing but it was designed and is optimized for sharing video over NETWORKS! This means that if you have another computer around in your house or if you have a friend stop over yall can share screens with one another so long as you are both connected to the same wifi/LAN. This does not mean you can stream video in or out over the actual internet, this only works for local networks. And a handy caveat to remember: if you have any ndi things outputting from your computer this means that anyone else on your network running NDI things can also potentially see whatever it is you are ndi-ing! This is really only an issue if lots of folks in your household are using NDI regularly and if you have anxiety and shame emotions regarding things that you might end up viewing on your computer.
/ / * * W I N D O W S * * / /
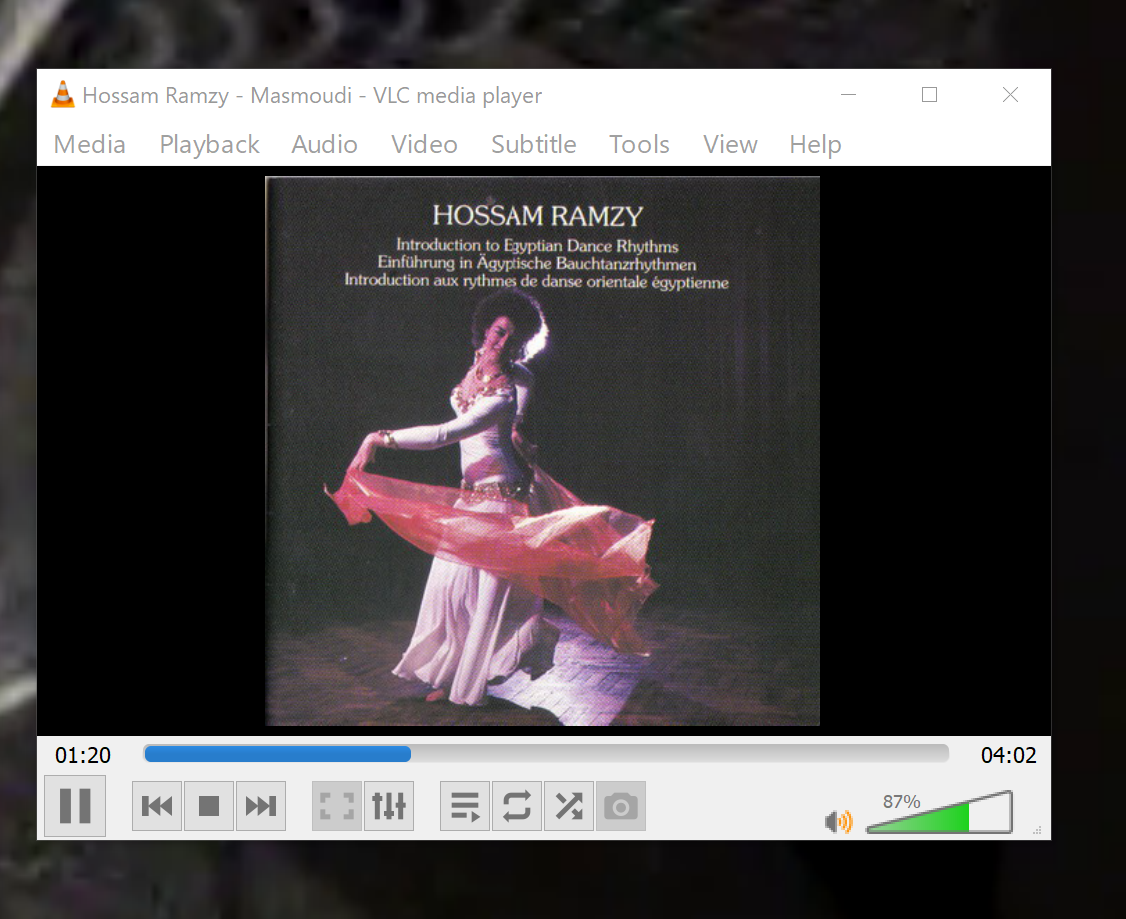
1. first open up the program you want to screen capture from. I'll be using VLC for this example. Something to keep in mind is that VLC for windows has an ndi plugin that allows you to bypass this screen sharing step but yall can figure that one out on your own later on and it will be more useful to just know how to screen grab anything on your desktop.
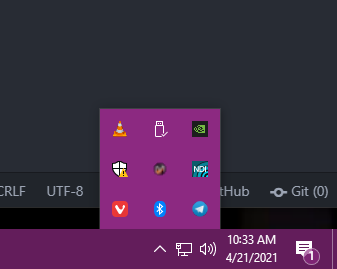
2. next open up NDI screen capture. You won't see any kinds of windows or interfaces open up but dont worry. look over in the little tab box in the corner and you'll see that it is running
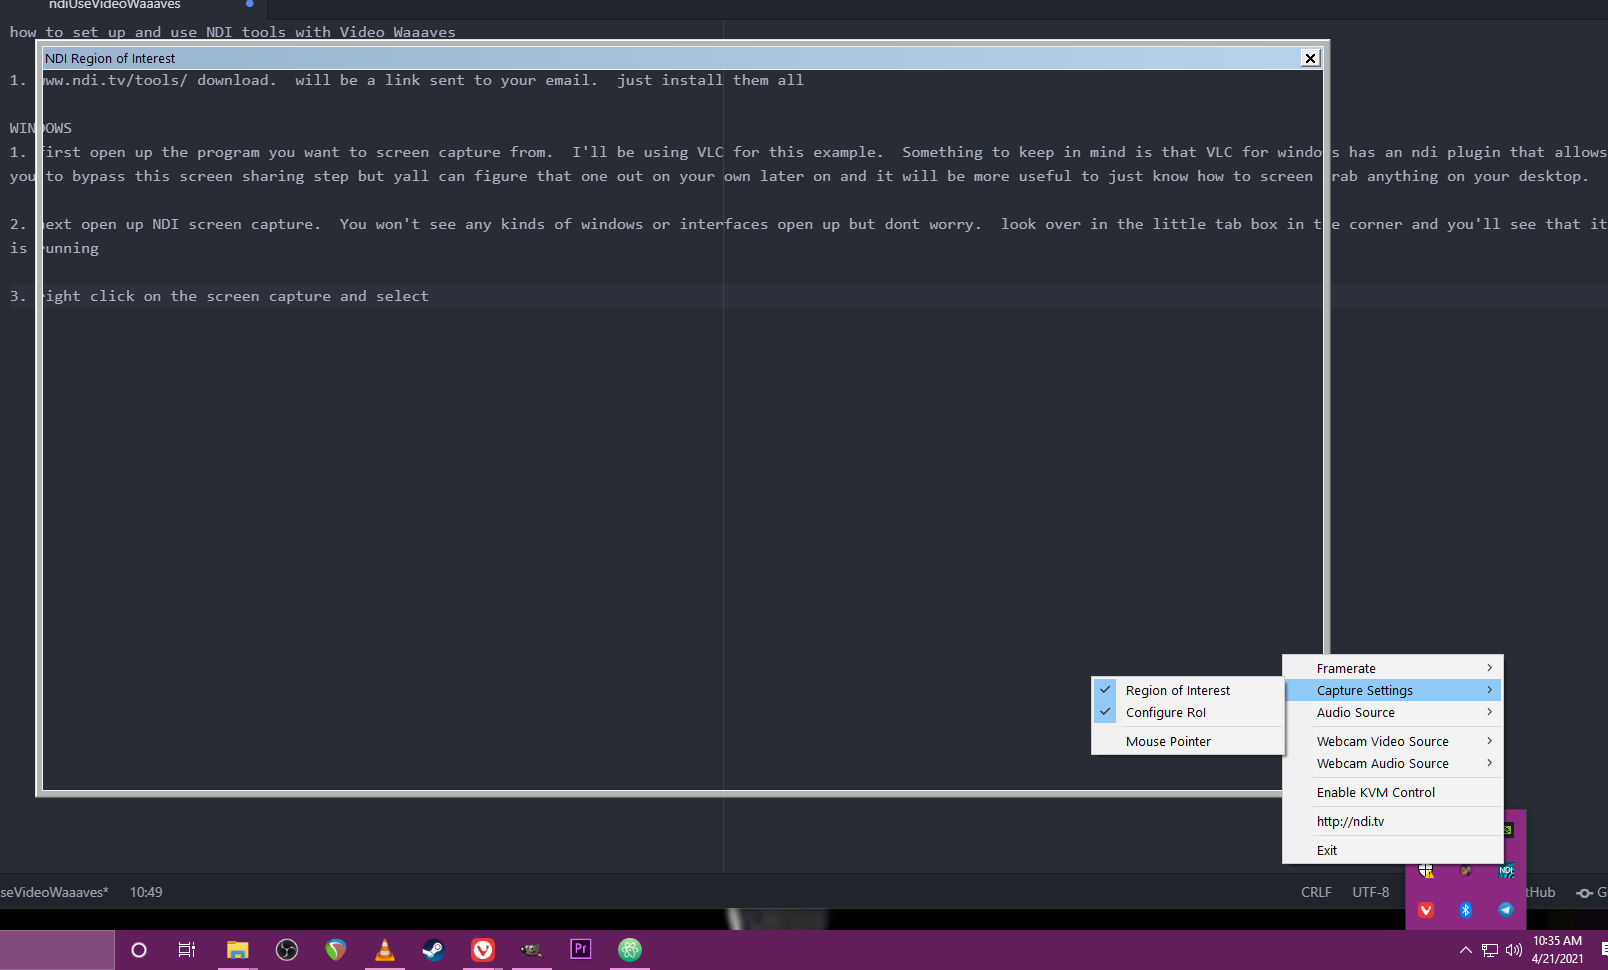
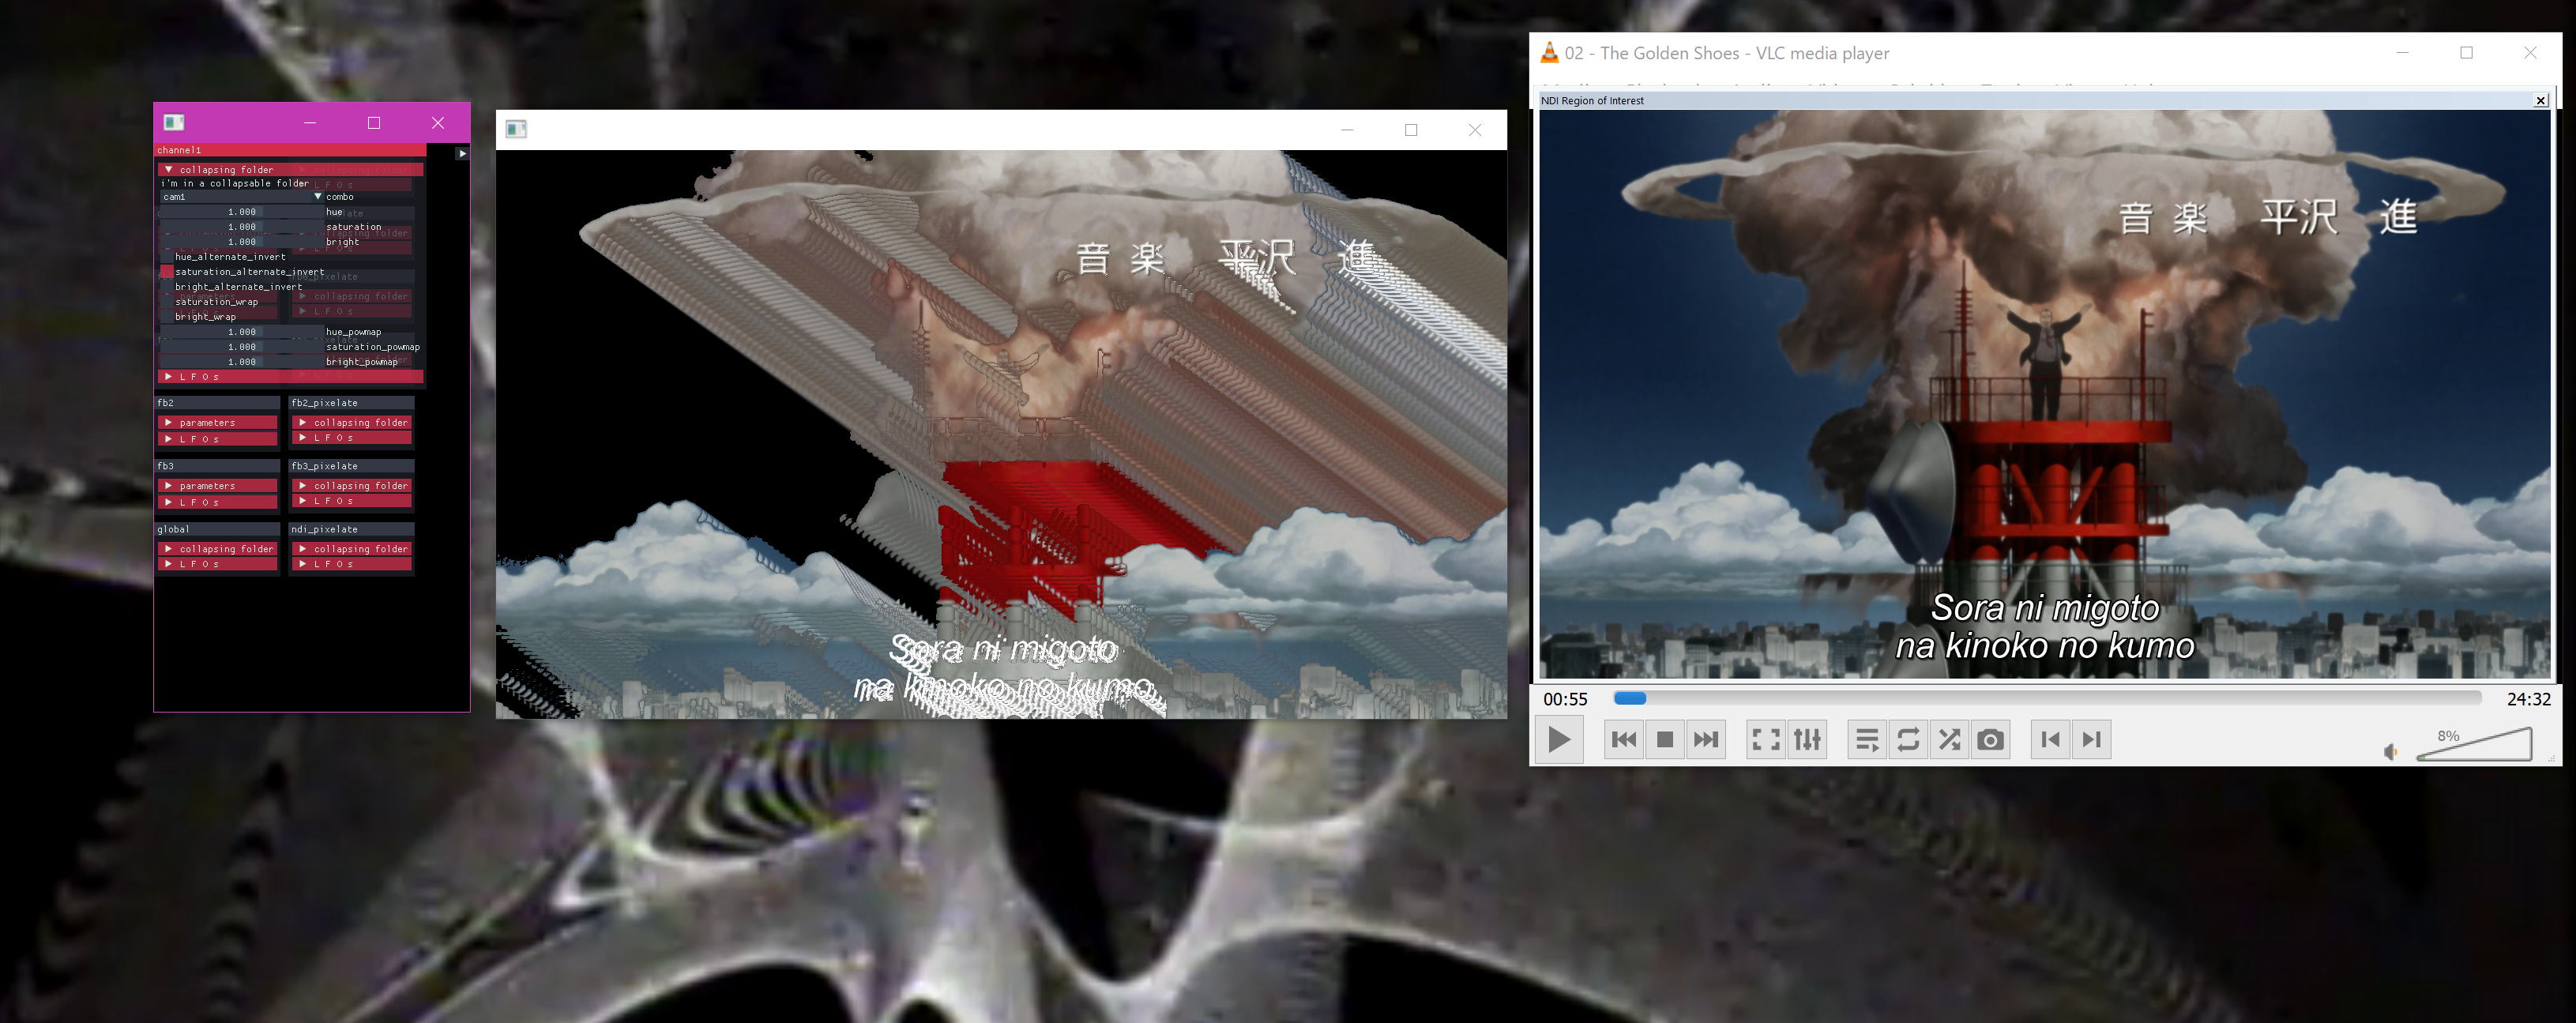
3. right click on the screen capture and go to 'Capture Settings', make sure 'Region of Interest' is selected and then click on 'Configure ROI'. A frame titled NDI Region of Interest will pop up on your desktop

4. lets move the frame over to VLC and resize the VLC window so that it fits directly inside the frame. You can resize the frame yr self but lets not mess around with that at the moment

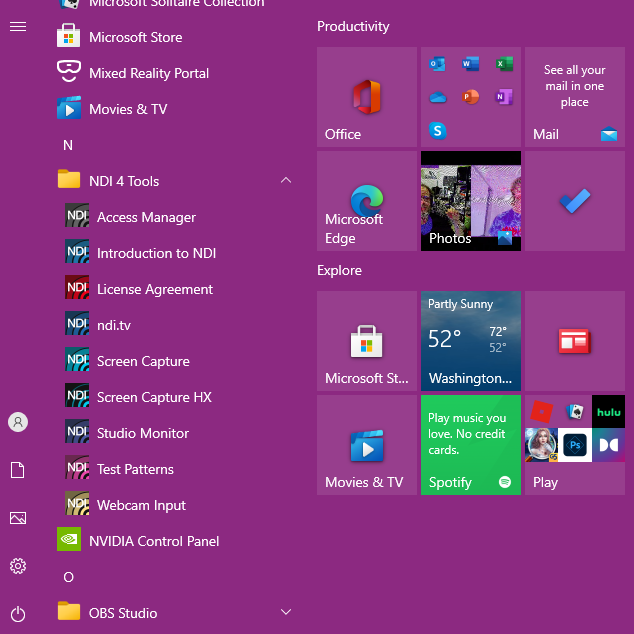
5. Next up lets open up NDI webcam input. again, no window or gui will pop up, it will silently open up as a little icon in your little tabby taskbar thing
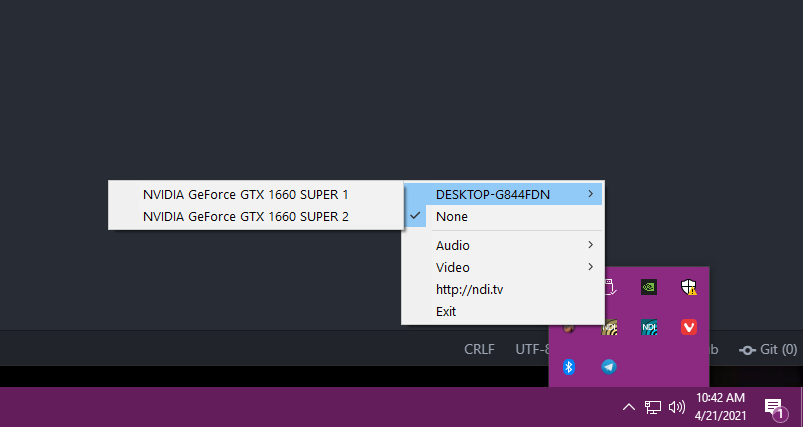
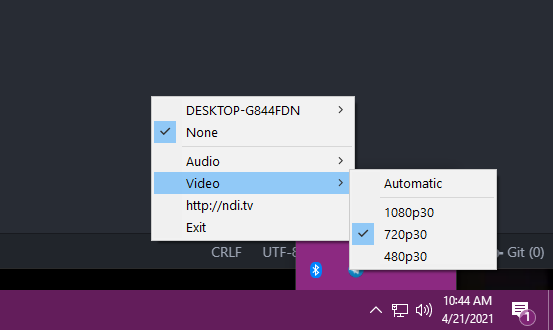
6.theres two things we want to do in here. first off, if you have multiple monitors happening you will want to select the monitor that your screen capture ROI is happening on. Second off you want to select the resolution. We will do 720p for this example.
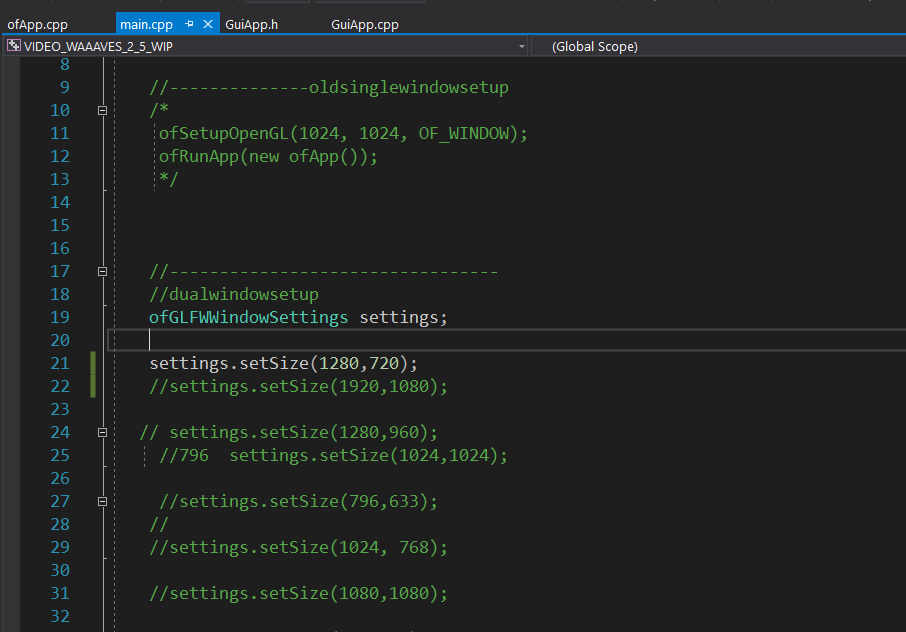
7. Next lets open video waaaves and then set things up so that NDI webcam input is cam1. First i'll go to main.cpp and make sure that settings.setSize(1280,720); is the only uncommented line. this isn't strictly necessary but it can be aestheticaly preferable to have your output window be the same resolution as the ndi capture. press ctrl-s to save any changes you have made.
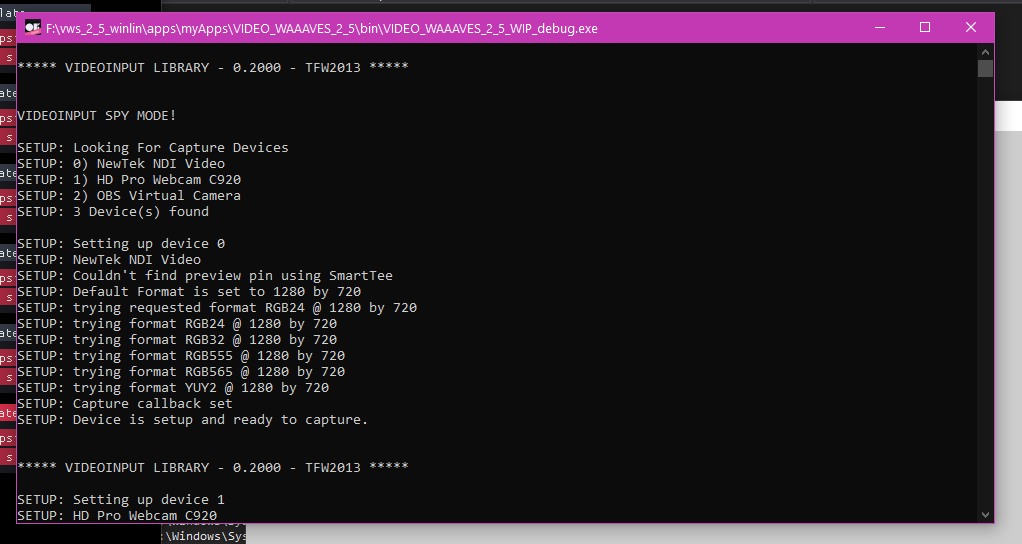
8.next lets run VW so that we can see what device ids we have! ignore the main app windows that pop up and take a gander at the little console window that says "VIDEOINPUT SPY MODE!". underneath where it says Looking for Capture Devices we see theres a list of numbers and devices. Each of these numbers is the device id and we will use these numbers to assign different devices to inputs in video waaves!* We see that NewTek NDI Video is device 0. (something to note, device IDs do not always stay static. sometimes if you plug in a webcam or unplug a webcam (or start or close any kind of virtual webcam) the device ids will change).
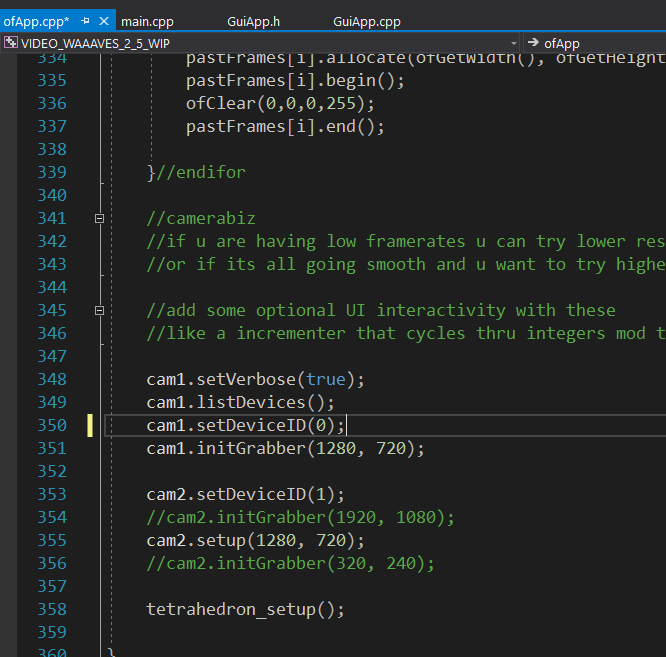
9.next head over to ofApp.cpp and ctrl-f cam1 till you find this section. change settings to match this picture and ctrl-s to save when finished!
10. press the little play button and off we go!
/ / * * O S X * * / /
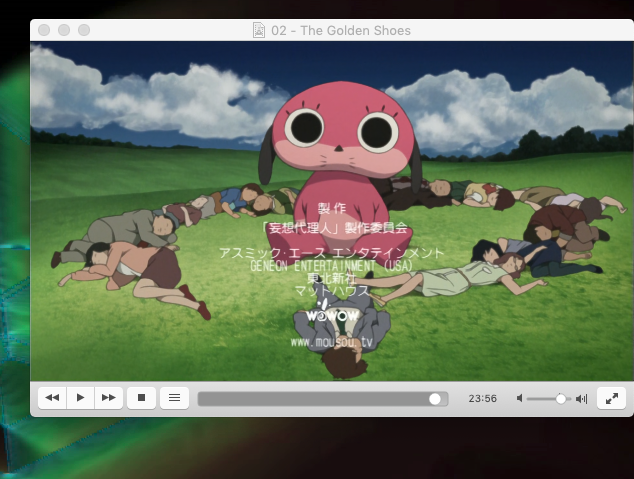
1. Ok so first we open up VLC to try and grab from there!
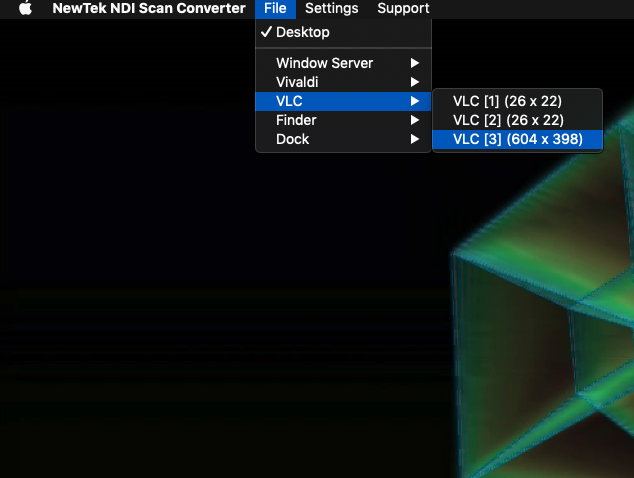
2. open up 'newtek ndi scan converter'. you wont see any windows or gui but an icon will appear in the dock and when that icon is selected you'll see menu options at the top of your screen. go to 'file'->'VLC' and select the largest vlc window option.
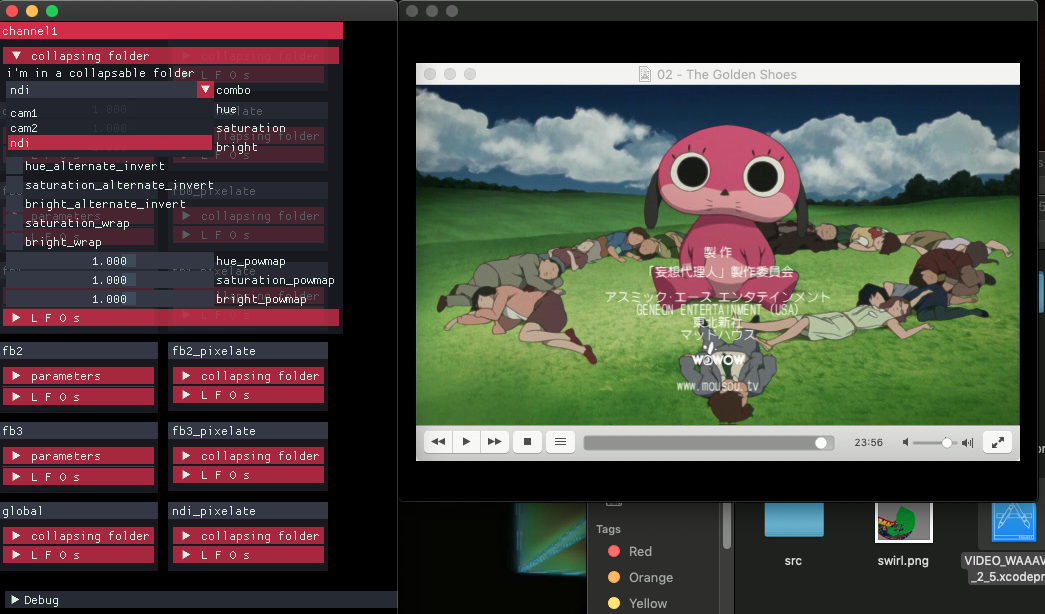
3. next open up video waaaves and for channel 1 select "ndi" as source
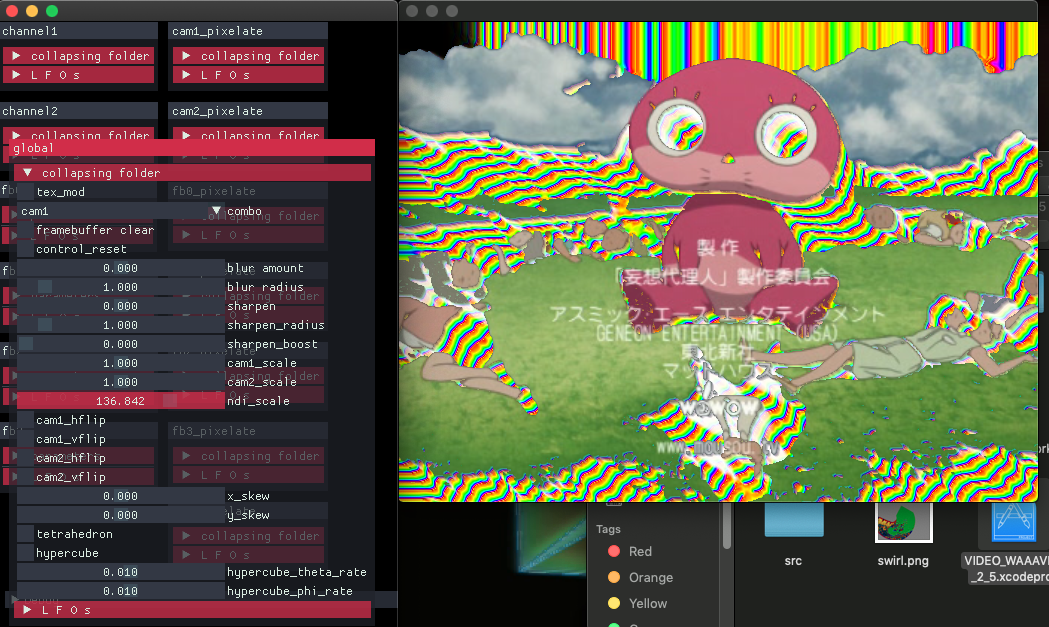
4. if the ndi source doesn't fit correctly in the screen you'll want to go down to 'global' and play around with 'ndi scale' until it looks good!
that is about it for now! If theres more stuff that should get added to this guide then head on over to either the facebook group or to scanlines.xyz and let me know!

If you appreciate the public domain open source software and educational materials I provide and can afford to spare some cash it is highly appreciated! The more donations I recieve the more time I have to spend on developing these resources! Please also consider subscribing to my patreon page as small amounts of regular income are appreciated as well! Or you could also support my ko-fi if you like getting stickers and stuff on a regular basis.